Mad God Passage is a small ruin located in Falkreath, connecting the Falkreath Secret Grotto with Morwitijaal. It contains the Cane of Byrna, a Dodongo Claw, Golden Butterflies, a White Ring, a Noble Sword, and an Eightfold Blade.
Draugr, Gibdos, Poes, Chus, Skeletons, and Keese can be found inside, as well as the Ominous Redead Knight. A Gold Skullula can also be found.
The corpses of a failed adventuring party as well as deceased Vigilants of Stendarr can be found in the ruin.
Mad God Passage is one of three "God Passages." It shares this category with Sand God Passage and False God Passage.
Walkthrough[]
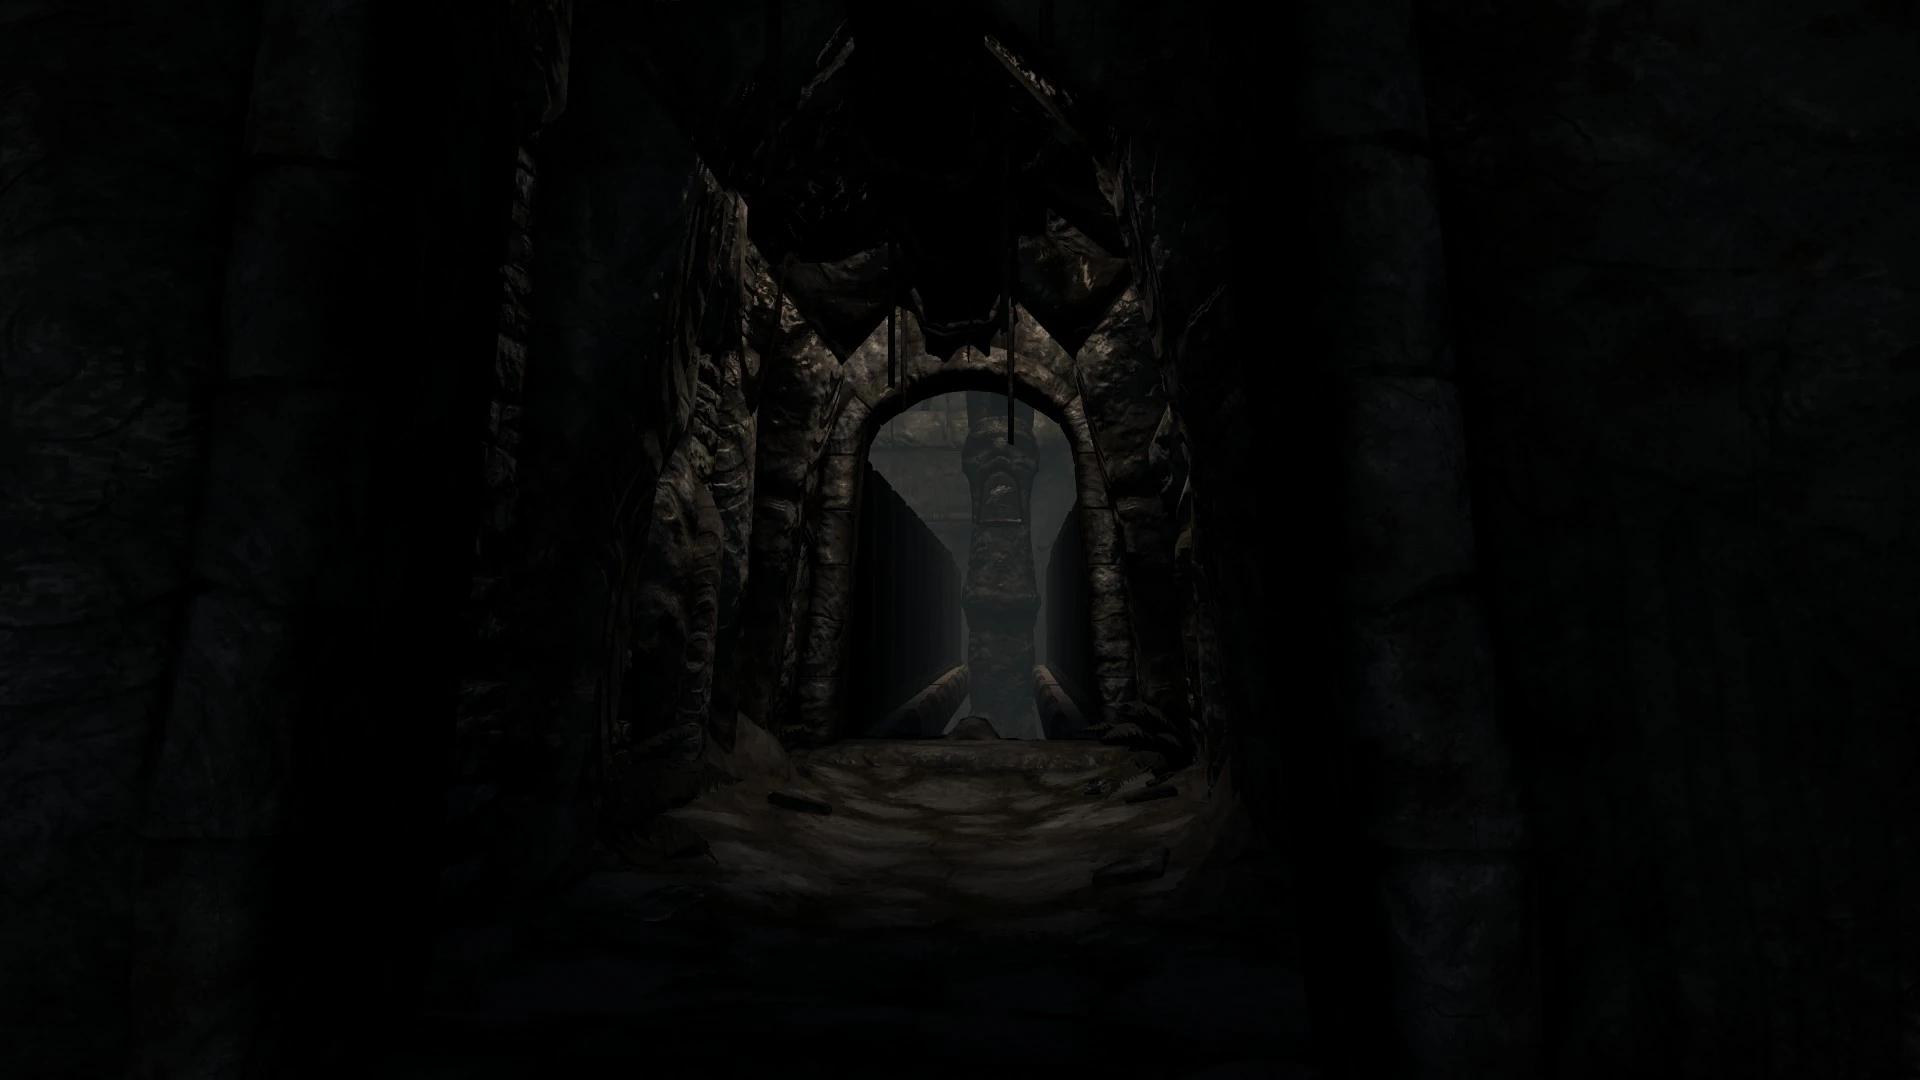
Enter Mad God Passage through Falkreath Secret Grotto by turning left in the flooded corridor.
First Chamber and the Hall of Panic[]
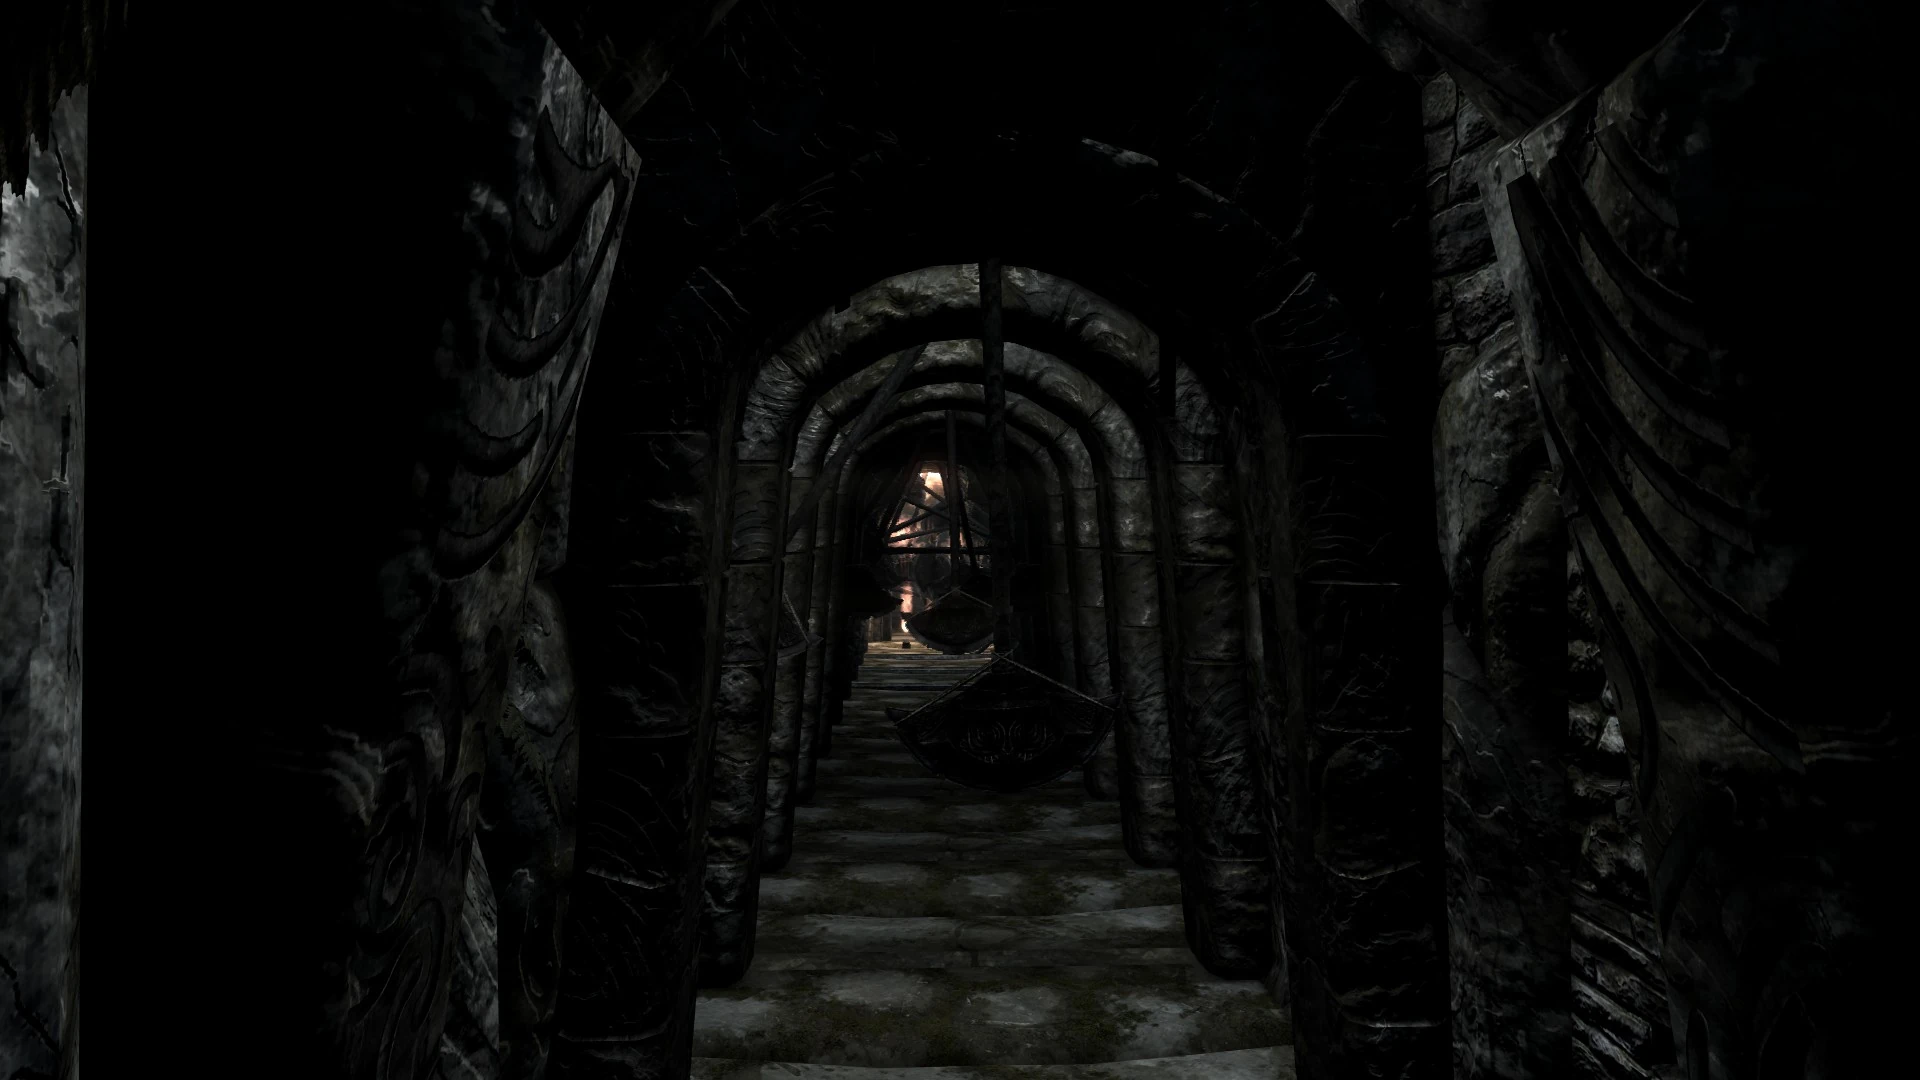
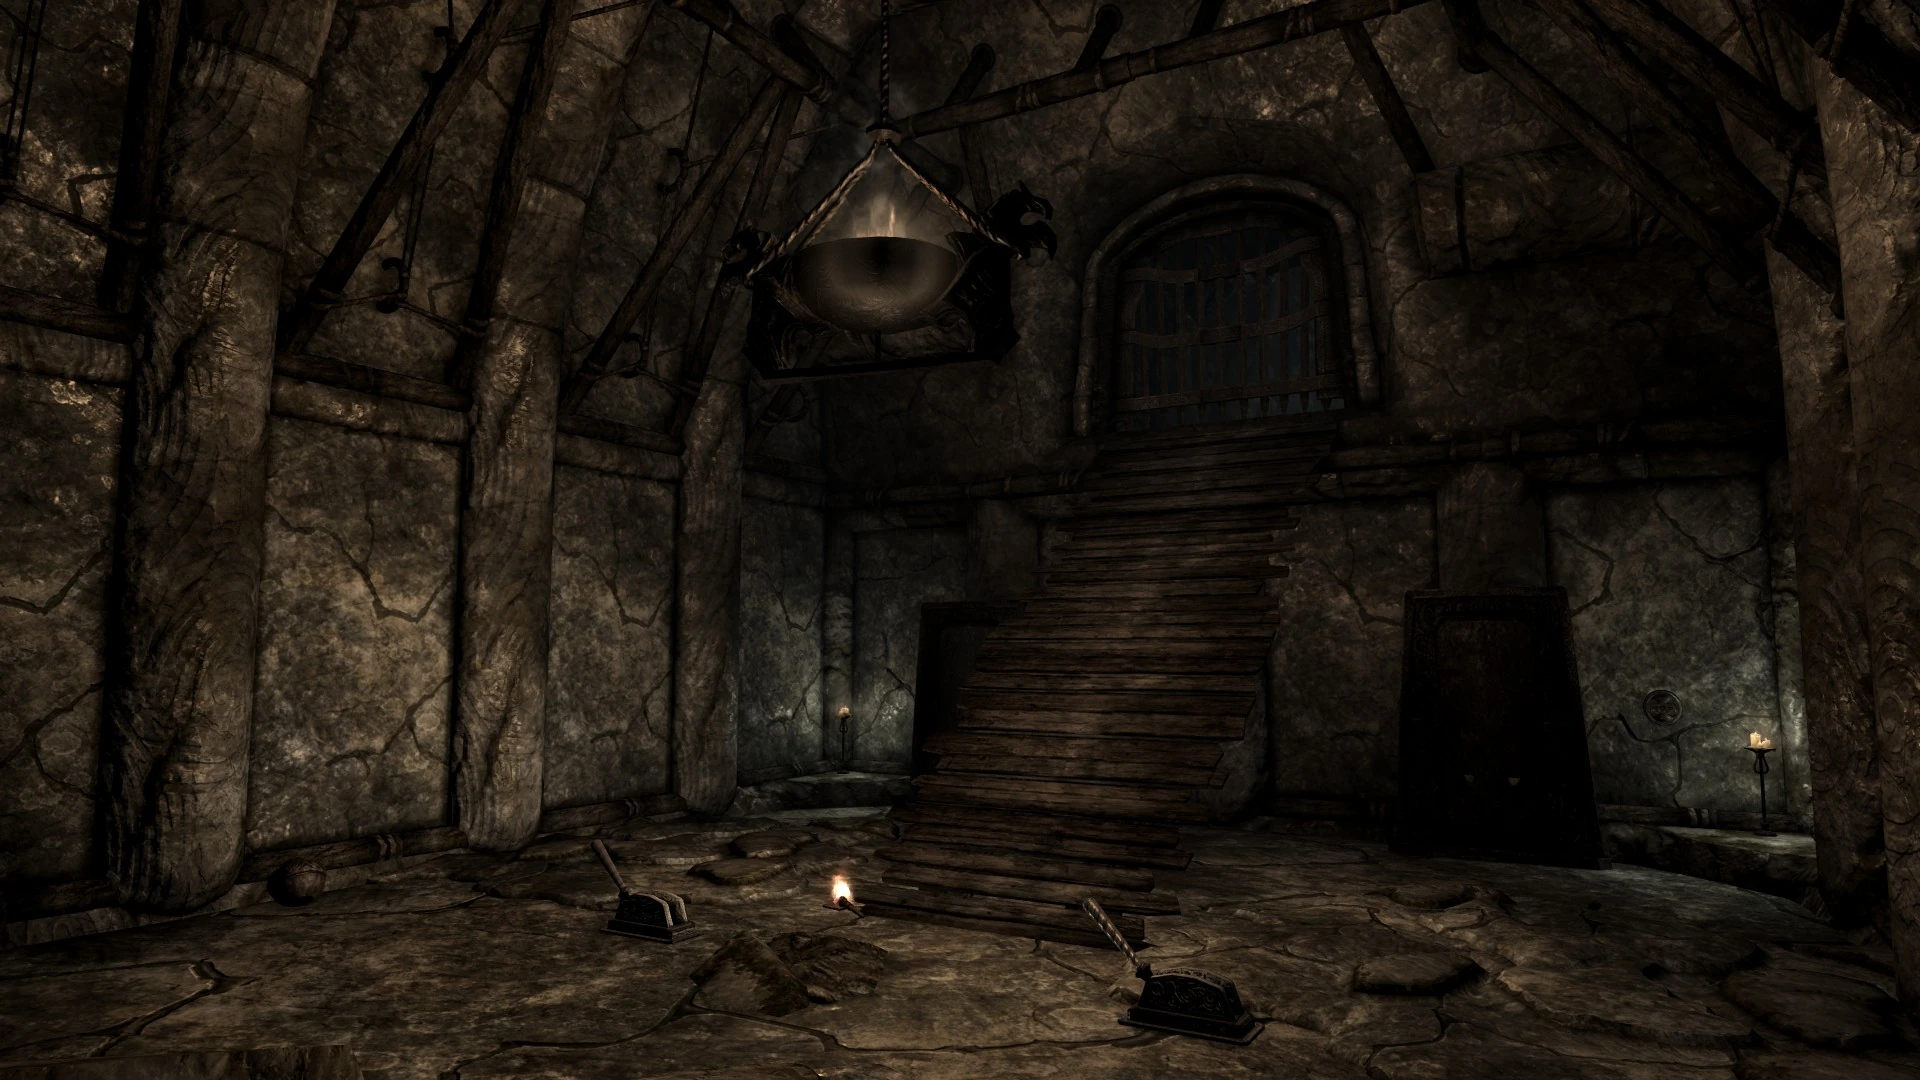
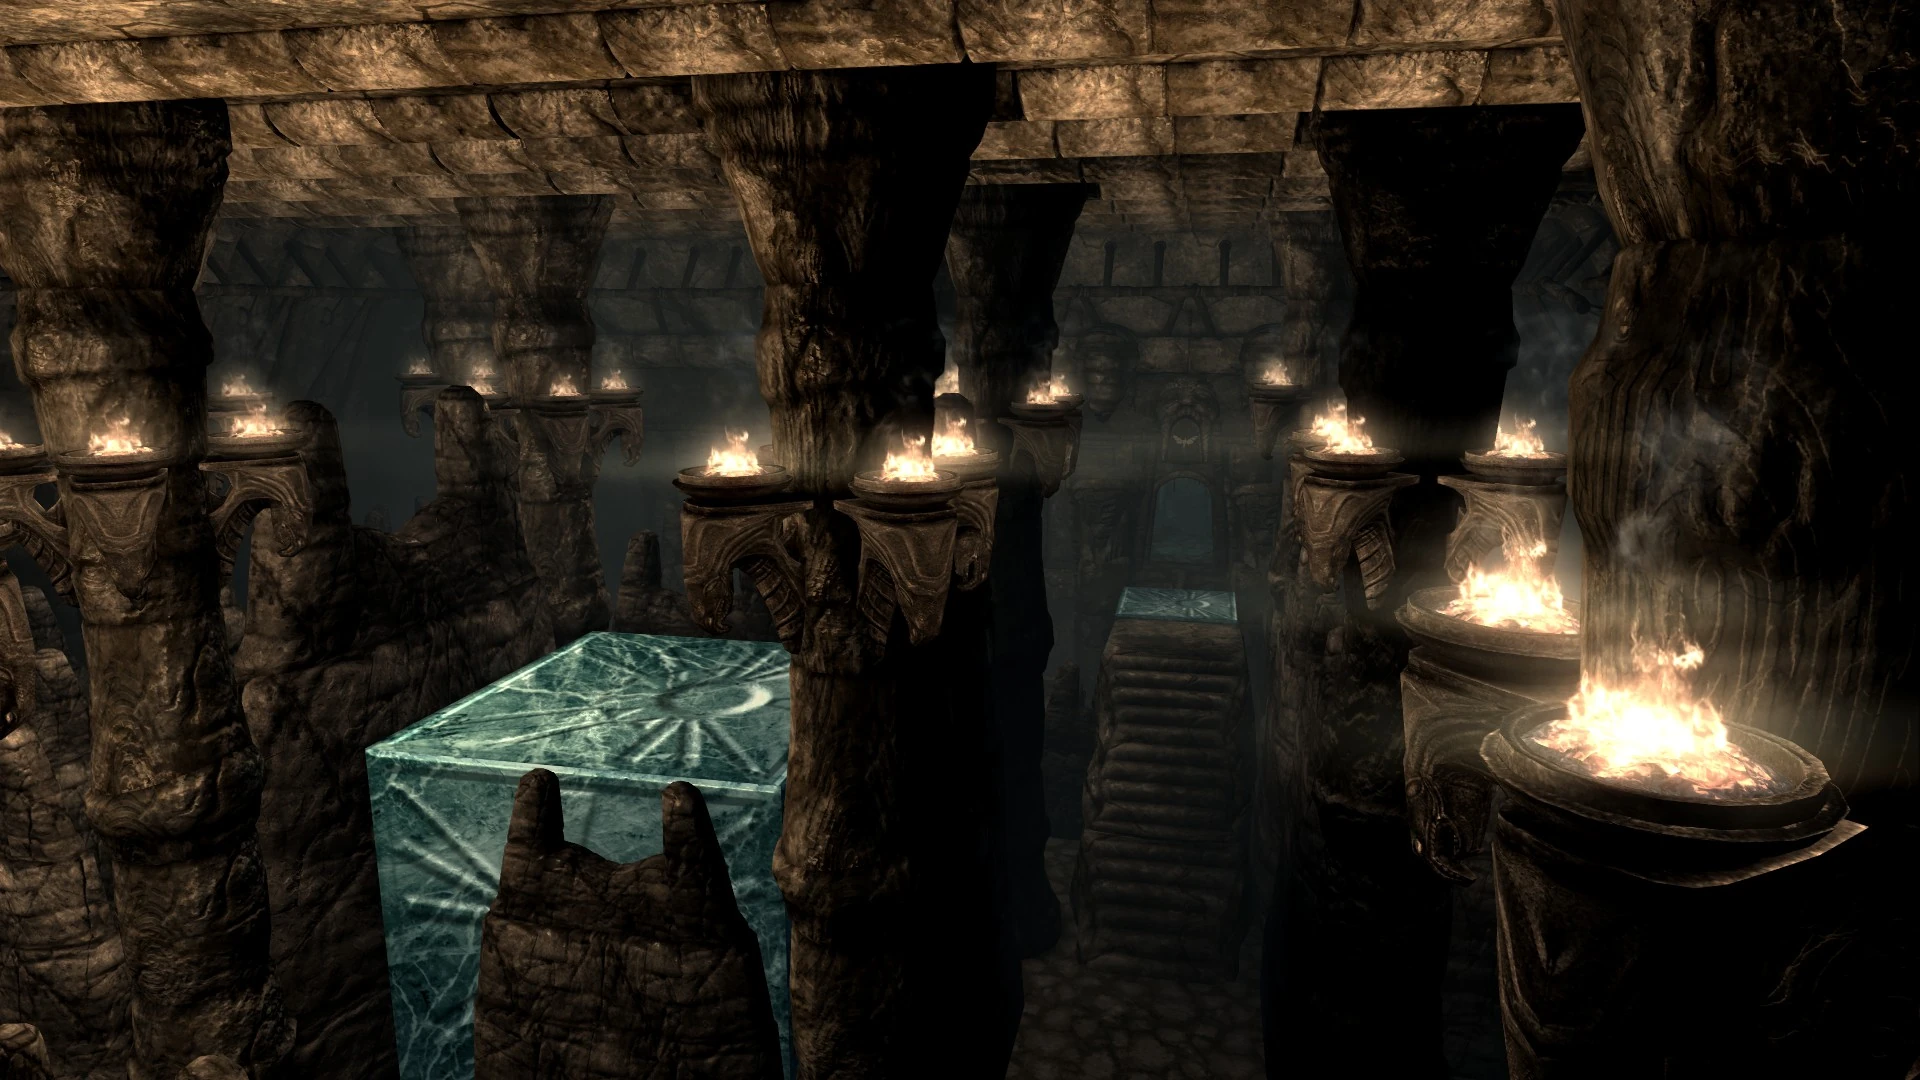
Mad God Passage begins with a hallway dimly lit by hanging braziers. The final brazier has spilled its coals on the ground. Past the coals is the first chamber of the ruin, a large room lit by a single brazier on a platform. Two stairways lead down, and a Moth symbol can be seen across from the doorway on the upper level. The brazier illuminates three other symbols: an Owl, an Eagle, and a Dragon. A dead Breton is found laying in a pool of blood at the base of the platform. The Heartfelt Journal is found near the brazier, as well as a Hide Shield. The Breton carries Hide Armor, 500 gold, and may carry up to two random gems. A random weapon can be found nearby as well. A blood-covered brazier is found on the ground close to the Breton, apparently having fallen from the ceiling.
The Hall of Panic when active.
Across from the brazier is a hallway ending in a metal door. Approaching this hallway activates the swinging blade traps, which increase in number further into the hall. At the end are three flamethrowers. To successfully navigate the hallway, sprint down it once the first axes begin to swing, or use Whirlwind Sprint or Slow Time. Alternatively, fortify your damage resistance or health and bear the damage of the swinging blades. The door at the end must be activated to open it, so act quickly.
Room of Many Doors[]
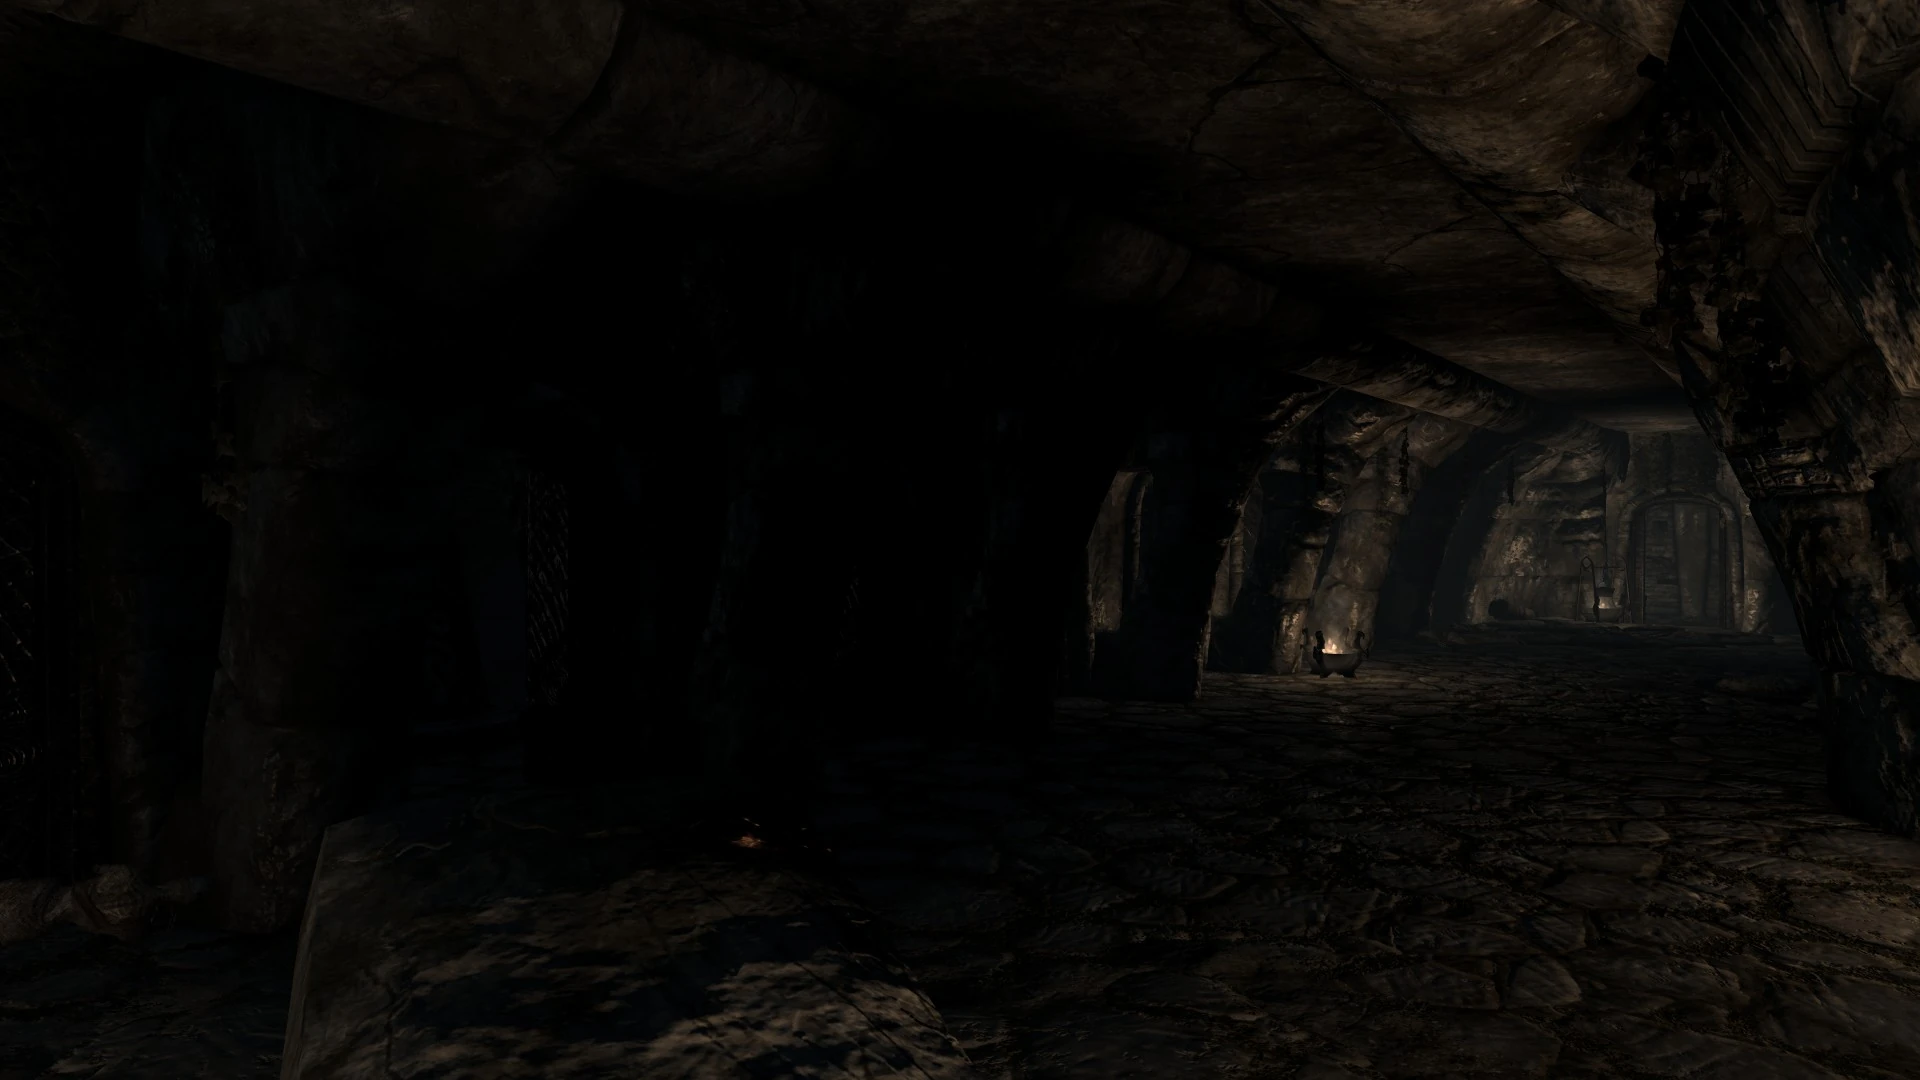
The second chamber of the ruin is a large room with dozens of doors lining the outer walls. Some doors lead to hallways that wrap around or under the room, and some doors simply lead back to the room or to dead ends. Gibdos and Poes can be found here.
One side of the Room of Many Doors
The room has a total of 37 doors. 36 around the perimeter, and one in the center. The door in the center leads to a room decorated by an Owl symbol and containing a dead High Elf, a Purple Chu, a Red Chu, the Devoted Journal and the Small Key for Mad God Passage. The High Elf carries 500 gold and may carry up to two random gems. The room also contains several wheels of cheese, several heads of cabbage, burned books.
The doors are visualized below. Loops and Hallways marked with subscripts (e.g. H4 ) Connect with each other.
| T* | R | D | L3 | L3 | L3 | H1 | H2 | D | |||
| X | D | B = Blocked | |||||||||
|---|---|---|---|---|---|---|---|---|---|---|---|
| D | H2 | T = Treasure | |||||||||
| D | D | E = Entrance | |||||||||
| D | H3 | X = Exit | |||||||||
| D | H3 | D = Dead End | |||||||||
| D | H3 | L = Loop | |||||||||
| L2 | E | T | H = Hallway | ||||||||
| L2 | D | R = Trap | |||||||||
| T | H4 | ||||||||||
| B | B | D | L1 | E | L1 | H1 | D | H4 | |||
*Requires Eye of Truth
The path to the next area only needs the Small Key. The rest of the Room of Many Doors is optional.
Pit of Waiting[]
Unlocking the door at the end of the exit hallway using the Small Key leads to drop into a pit. A portcullis blocks exit from the pit, and no switches can be found in the area.
The portcullis opens automatically after 30 seconds of waiting in the pit, granting access to a hallway.
A Gold Skulltula can be found in the hallway, which ultimately leads to a branched path. Going forward leads to the end of the dungeon, while going right leads back to the top, before the drop into the Pit of Waiting.
Ominous Redead Knight[]
The lair of the Ominous Redead Knight
The end of the hallway is a portcullis that leads to a small room decorated by a dragon symbol. A ramp in the room leads to a second portcullis. A torch is on the ground near the Thoughtful Journal. Two levers and two sarcophagi are found in the room. A handle can be found to the right of a sarcophagus on the right side of the room. This handle opens the portcullis at the entrance of the room. The right-most lever opens both sarcophagi, revealing the corpse of the Dark Elf, as well as awakening the Ominous Redead Knight. The left-most lever does nothing.

The handle in the top portion of the sarcophagus of the Ominous Redead Knight
The Dark Elf carries Hide Armor, 500 gold, and may carry up to two random gems. The Ominous Redead Knight carries an Eightfold Blade, Rupees, two Flawless Emeralds, Wisp Wrappings, a Quill, the Forceful Journal, and Skin of Redead.
A second handle is hidden in the sarcophagus of the Ominous Redead Knight. This handle opens the portcullis that exits the room.
Sarcophagus Bridge[]
Exiting the lair of the Ominous Redead Knight leads to a sloped hallway with an open portcullis at the end. Venturing further into the hallway will cause the portcullis to close. Near the portcullis are two paths: one to the left, and one to the right. The path to the right is blocked by Block of Time, but the path to the left is open.

The sarcophagus bridge before being activated
The path to the left leads to a large room marked by an eagle symbol. Several sarcophagi are lined up next to each other, with a lever at the end, under the eagle symbol. Approaching the sarcophagi (i.e. stepping on the wooden platform just before them) will activate them all, one by one, making their lids fall, forming a bridge. Skeletons and Draugr will step out of several sarcophagi and attack.
Pulling the lever under the eagle symbol will open the portcullis in the previous hallway, granting access to Morwitijaal. The door leading to Morwitijaal is locked with the Mad God Passage Small Key.
Cane of Byrna (optional)[]
Playing the Song of Time will remove the Block of Time from the entryway to the Cane of Byrna maze. The path the Cane is always the same: go forward, turn right, play the Song of Time to rearrange the Blocks of Time again, go forward, turn left, climb the stairs and retrieve the Cane of Byrna.
The room rearranges every time Mad God Passage is entered, revealing different treasures, including a Noble Sword, a White Ring, random Relics of Hyrule loot, and random Draugr loot.

The maze containing the Cane of Byrna
The White Ring is located to the right of the Cane of Byrna, on a platform in the western corner of the room. The ring is challenging to reach if the way to it is open. If not, play the Song of Time to summon the block. First, make sure the Block of Time is present to provide a platform for accessing the ring. Then climb the steep slope of the collapsed wall to the right of the block, jumping and moving side-to-side to scale the wall. The Hover Boots or Roc's Cape may assist with the act of climbing. Once the collapsed wall has been scaled, simply jump to the top of the Block of Time and open the strongbox containing the White Ring.
Chance-based Features[]
Several features in Mad God Passage are programmed to change every time the dungeon is loaded.
The number of Poes may change on subsequent visits, even if said visits don't occur after the dungeon has respawned, may result in more or fewer Poes than previous visits. One such Poe is behind a door in the ruin's chamber of doors.
The maze leading to the Cane of Byrna is designed to change every time Mad God Passage is loaded, potentially leading to generic treasure or to a Noble Sword or White Ring. The White Ring, however, is very difficult to reach.
Some static items are set to appear based on random chance.
- A pot holding a bloody skull, hanging above a brazier.
- A torture rack.
- A goblet in the room with the dead High Elf.
Eye of Truth[]
When using the Eye of Truth spell, the following will occur.
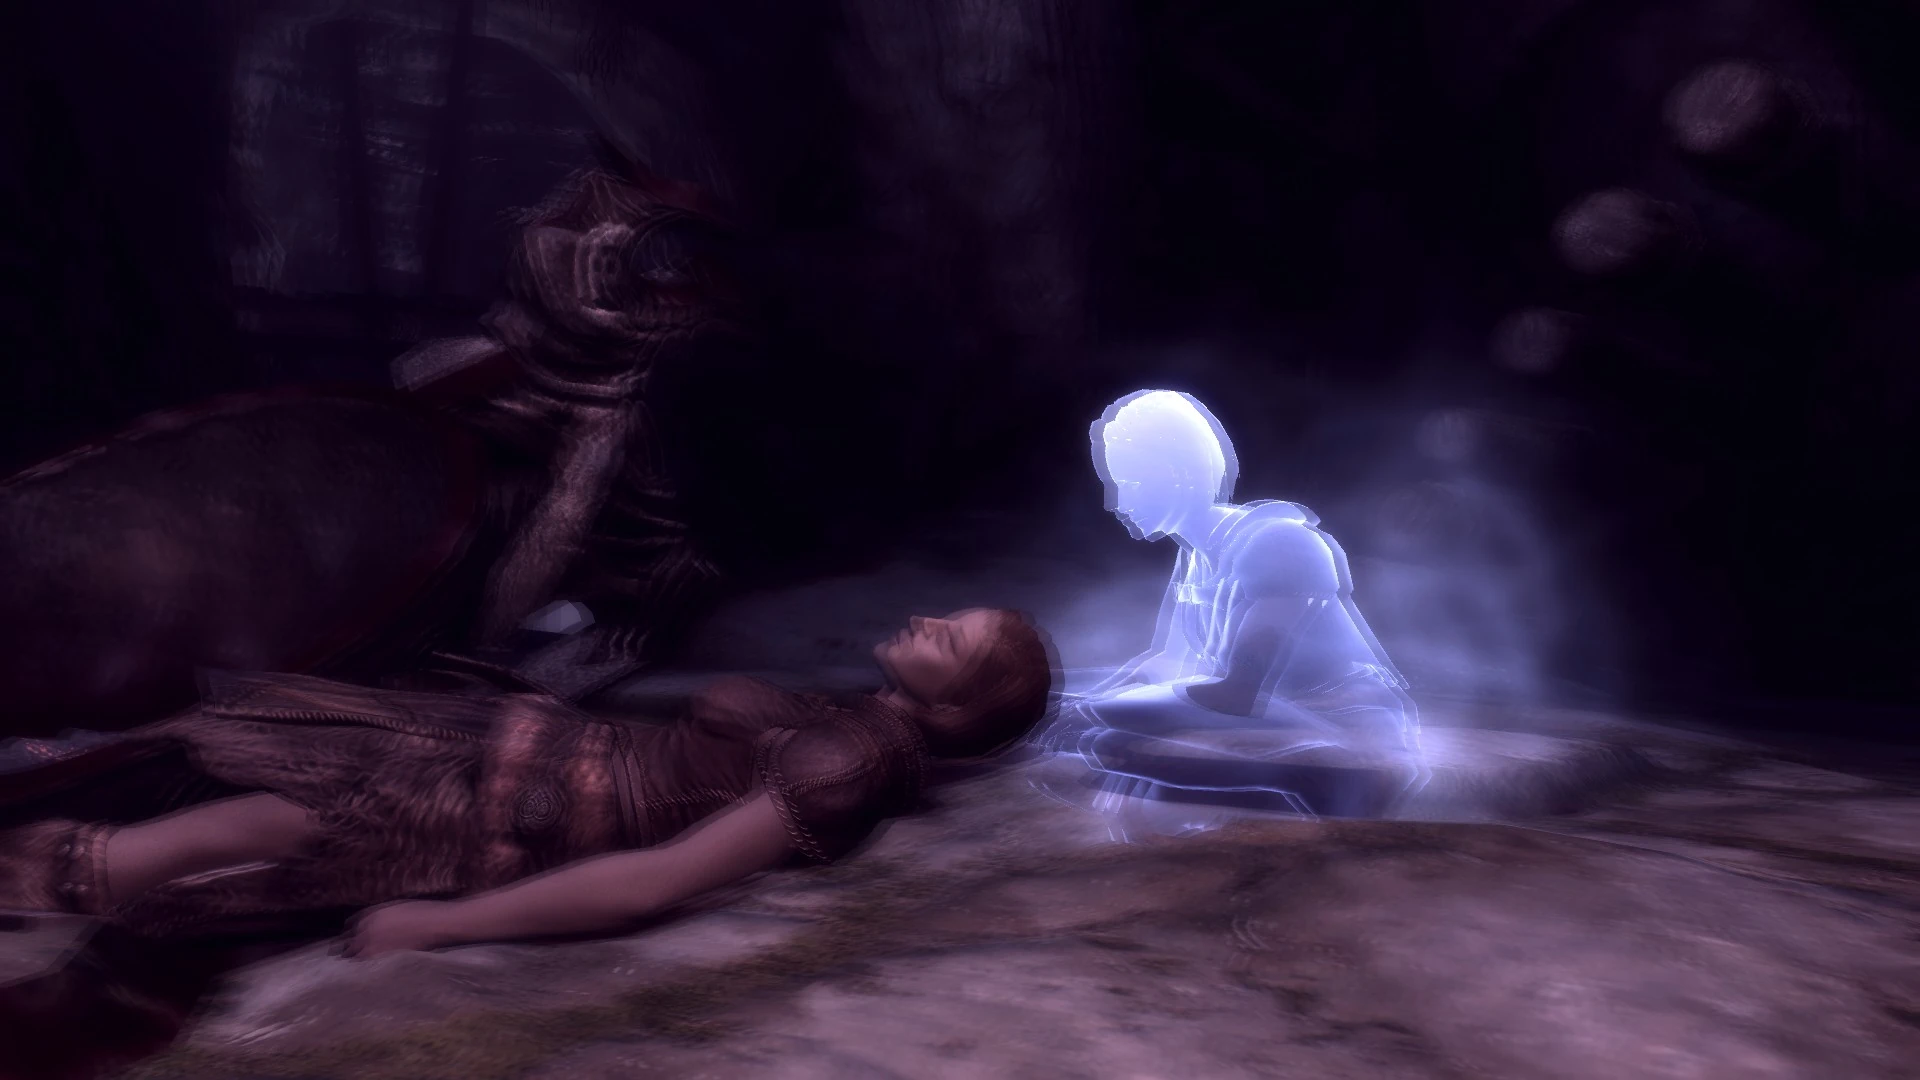

The Breton ghost with her corpse, visible with the Eye of Truth spell.
- The ghosts of the dead adventurers can be seen by their corpses.
- A wall blocking access to the hall of locked doors and the Vigilants of Stendarr will vanish.
- A Yiga symbol marking a door leading to a chest containing a single coin.
Easter Eggs[]
One of the chests in the chamber of doors is upside-down.
In the room with the dead High Elf, several wheels of cheese and several cabbages are found. This is in reference to his mention of cheese in several iterations of The Elder Scrolls, as well as his declaration of "Cheese and cabbage for everyone!" in The Elder Scrolls Online.
Lore[]
Mad God Passage was built by the Nords of Morwitijaal and was originally part of the tomb. However, it was sealed off from Morwitijaal when unusual occurrences began to prevent safe passage into or out of Morwitijaal.
The four women found dead in Mad God Passage were an adventuring party who succumbed to the psychological snares and dangers of the ruin after entering from the Falkreath Secret Grotto. The Ominous Redead Knight was the leader of the party and became possessed and then transformed by the dungeon, rather than killed as her companions had been. This is reflected in the Forceful Journal, in which she speaks of her "Master" Sheogorath.
A pair of deceased Vigilants of Stendarr can be found in the ruin. Their orders can also be found and indicate that they were sent to the ruin to secure an artifact (possibly the Cane of Byrna) to prevent it from falling into the hands of Daedra worshippers or Daedric Princes.
Background and Inspiration[]
Mad God Passage was added to Relics of Hyrule in version 6.5.15 and was expanded on in later updates. Several features have been added without announcement to fit the unpredictable nature of the ruin.
The Owl, Eagle, Dragon, and Moth symbols throughout the dungeon represent each of the four adventurers lost in the dungeon. The symbols also serve as a reference to the Triforce, with the Owl representing Wisdom, the Eagle representing Courage, and the Dragon representing Power. The Moth represents the empty space of the Triforce, and the hidden virtues of Hylia, hence why it is found near the Cane of Byrna. The "Nordic Triforce" in Mad God Passage is a re-imagining of similar feature found in Morwitijaal
Mad God Passage was added to integrate Sheogorath, Daedric Prince of Madness into Relics of Hyrule lore. Sheogorath had won a poll JKalenad conducted asking users of the mod for input as to which Daedric Princes they would like to see integrated into the mod's lore. JKalenad chose to represent Sheogorath in a more serious way than he is often portrayed. Mad God Passage, therefore, has many features that are designed to make the player uncomfortable or afraid. The dungeon is designed to represent mental illness and insanity.
Mad God Passage uses structures copied from an unused cell, BPWVoid, which is connected to BPWHouse, a hidden cell connected to the Mind of a Madman area (see https://en.uesp.net/wiki/Skyrim:Test_Cells and this video). BPWVoid was used to repurpose abandoned assets, but also to directly reference Sheogorath by using assets intended for his quest.
JKalenad had previously imagined a randomly generated maze and a bridge of sarcophagus lids, but could not find a place for them until Mad God Passage.
The four dead bodies in Mad God Passage are all inspired by the characters of Doki Doki Literature Club by Team Salvato. The circumstances of their deaths, the structure of their poems, and names hidden in the internal data of the NPCs are also references to Doki Doki Literature Club.
- The Breton's hidden name is Iaorys, an anagram of Sayori. She was originally intended to be found hanged in the first chamber of the dungeon, but JKalenad was unable to lock her corpse in place, so he adjusted her death to be from a falling brazier. Her poem focuses on joy and happiness and features the hidden phrase, "Get out of my head before I do what is best for you." Its EditorID features the letter S for Sayori. She is found with all of the "Nordic Triforce" symbols, representing balance.
- The High Elf's hidden name is Iryu, an anagram of Yuri. She is found with a dagger and no signs of a struggle, implying she stabbed herself. She is found propped up against rubble, with the dagger near her right hand, in a posture similar to Yuri's in Doki Doki Literature Club. Her poem is a seemingly random assortment of characters, but the words "Sheogorath," "Majora," and even "MonYka" appear in it. The capital letters in the poem spell out the hidden phrase: "Sheogorath, my lord, the mask will be yours. I love you, and I will ensure you reign forever." Its EditorID features the letter Y for Yuri. She is found with the Owl symbol, representing Wisdom.
- The Dark Elf's hidden name is Itansku, an anagram of Natsuki. She is found sealed in a sarcophagus near the Ominous Redead Knight. Her poem is simple in structure and alludes to the Shivering Isles and Greymarch. Its EditorID features the letter N for Natsuki. An Eagle symbol, representing courage, is found at the end of the sarcophagus bridge, near the location where the Dark Elf is found.
- The Ominous Redead Knight was named to feature the letters of the name Monika (Ominous Redead Knight). She carries two flawless emeralds in reference to Monika's eyes, as well as wisp wrappings in reference to Monika's white ribbon. She is undead, which serves as an allusion to Monika's frustration at her lack of a programmed ending in Doki Doki Literature Club, leading to her manipulation of the rules of the game. The undeath of the Ominous Redead Knight is cheating, in a sense. The Forceful Journal is an acrostic that addresses Majora, and refers to a "Master" (Sheogorath), and a "friend" to that master (Jyggalag). She is found with the Dragon symbol, representing power.
Gallery[]
Video[]

Relics of Hyrule- The Series Episode 119 - Mad God Passage